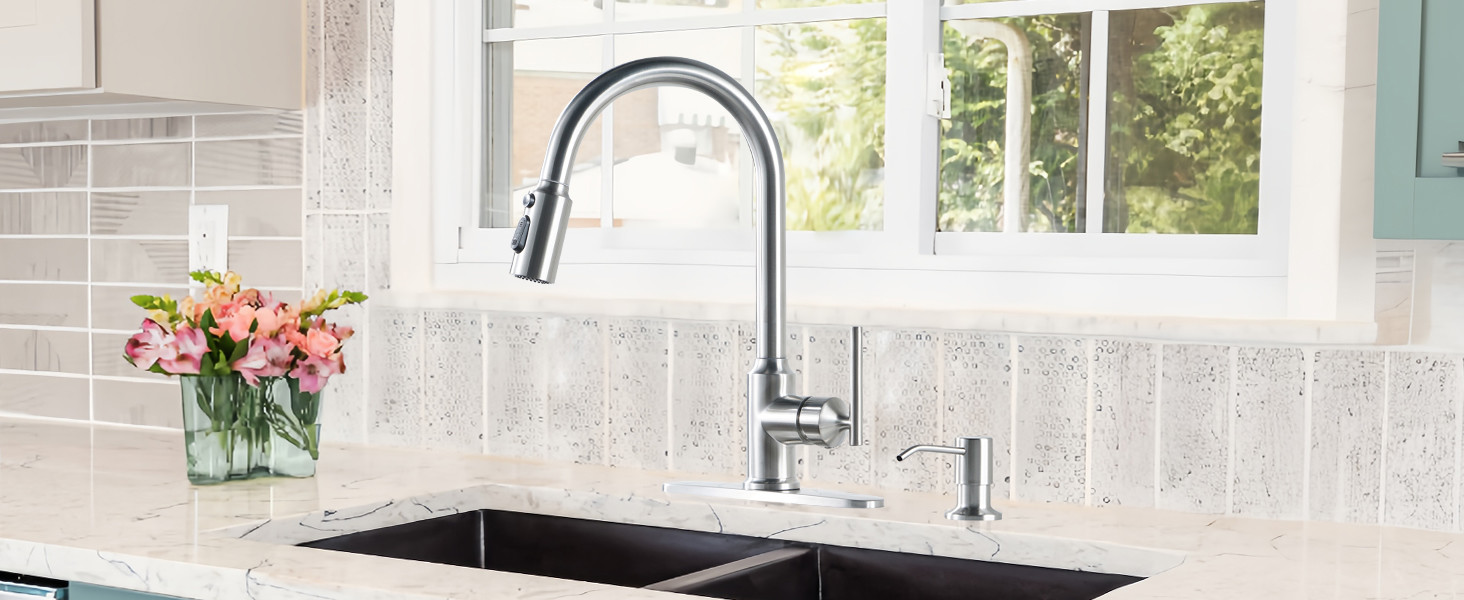
Your kitchen faucet is one of the most frequently used fixtures in your home, making it essential for everyday tasks such as washing dishes, rinsing vegetables, and filling pots. However, when the spray button on your kitchen faucet gets stuck, it can be frustrating and inconvenient. Fortunately, fixing a stuck spray button is a relatively simple task that can be done with a few basic tools and a little bit of know-how. In this guide, we’ll walk you through the steps to diagnose and fix a stuck kitchen faucet spray button, so you can get back to using your sink with ease.
Understanding the Problem
Before diving into the repair process, it’s essential to understand why your kitchen faucet spray button may be stuck. The most common culprit is mineral buildup or debris that has accumulated inside the spray head over time. Additionally, wear and tear on the internal components of the spray head can also lead to issues with the button mechanism.
Step 1: Turn Off the Water Supply
As with any plumbing repair, the first step is to turn off the water supply to the faucet. Locate the shut-off valves under the sink and turn them clockwise until they are fully closed. Once the water supply is turned off, you can safely begin working on the faucet without the risk of flooding or water damage.
Step 2: Remove the Spray Head
Next, you’ll need to remove the spray head from the faucet. Depending on the type of faucet you have, this may involve unscrewing the spray head by hand or using a wrench to loosen the connection. Once the spray head is detached, inspect it for any visible debris or mineral buildup that may be causing the spray button to stick.
Step 3: Clean the Spray Head
Using a mixture of warm water and vinegar, soak the spray head to help loosen any stubborn buildup or debris. You can also use a toothbrush or small brush to gently scrub the interior of the spray head and remove any accumulated grime. Be sure to rinse the spray head thoroughly with clean water to remove any leftover residue.
Step 4: Check the Button Mechanism
While the spray head is removed, inspect the button mechanism for any signs of damage or wear. Sometimes, the button may become stuck due to a broken or misaligned internal component. If you notice any visible issues with the button mechanism, you may need to replace the spray head or the faulty parts to resolve the problem.
Step 5: Reassemble and Test
Once the spray head is clean and the button mechanism has been checked, reattach the spray head to the faucet using the same method you used to remove it. Make sure the connection is secure and tight to prevent any leaks. Turn the water supply back on and test the spray button to ensure it moves freely and functions properly.
Step 6: Additional Troubleshooting
If the spray button is still stuck after cleaning and inspecting the spray head, there may be underlying issues with the faucet’s internal components. In this case, it may be necessary to disassemble the faucet further to access and repair any damaged parts. If you’re not comfortable tackling more complex repairs, it’s best to consult a professional plumber for assistance.
Conclusion
A stuck spray button on your kitchen faucet can be a minor annoyance, but with the right tools and techniques, it’s a problem that can be easily resolved. By following these steps to clean and inspect the spray head, you can quickly diagnose and fix the issue, restoring functionality to your faucet in no time. Remember to perform regular maintenance on your kitchen faucet to prevent future issues and keep it running smoothly for years to come.


