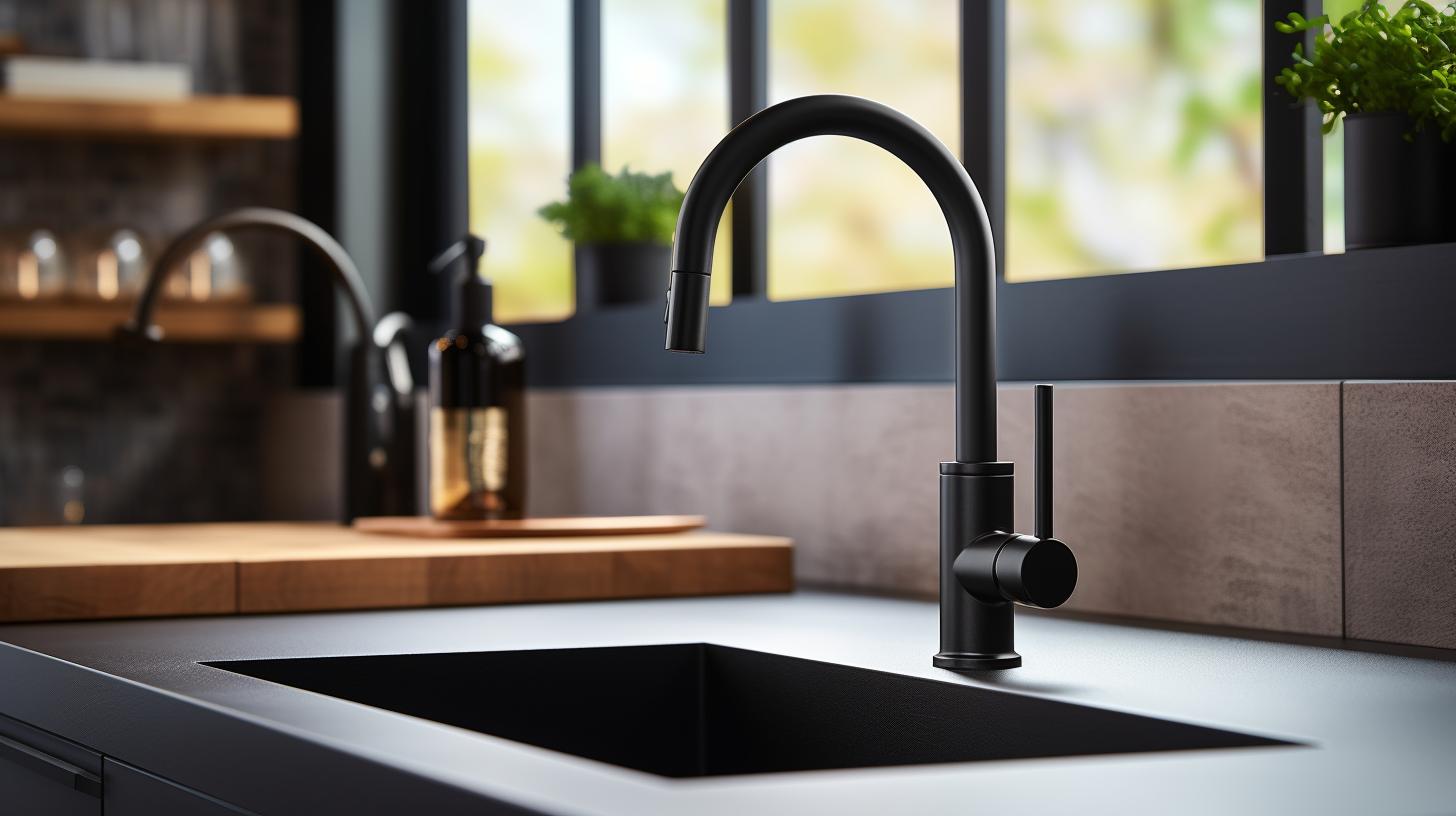
A loose kitchen faucet can be an annoying inconvenience, causing water leaks and reduced functionality. Fortunately, how to tighten a kitchen faucet is a relatively simple DIY task that doesn’t require extensive plumbing experience. In this guide, we’ll walk you through the step-by-step process of how to tighten a loose kitchen faucet restoring its stability and preventing further issues.

Gather Your Tools and Materials
If you want to know how to fix a loose kitchen faucet, make sure you have the necessary tools and materials ready:
- Adjustable Wrench: This versatile tool will be your go-to for securing various components.
- Allen Wrench (if needed): Some faucets have hidden screws that require an Allen wrench for access.
- Plumber’s Tape (Teflon Tape): This tape will come in handy for creating a leak-proof seal.
- Towels or Rags: These will help contain any water spills or drips.
Step 1: Turn Off the Water Supply
Safety is crucial when working with plumbing. Before you start, turn off the water supply to the kitchen faucet. Locate the shut-off valves under the sink and turn them clockwise until they’re fully closed. To release any remaining water pressure, turn on the faucet.
Step 2: Examine the Faucet
Inspect the faucet to determine which part is loose. There are typically two common areas where a faucet might become loose: the base and the handle. If the entire faucet seems wobbly, the issue is likely at the base. If only the handle moves, the handle itself might need tightening.
Step 3: Tighten the Base
For a Loose Faucet Base:
- Reach under the sink and locate the nuts securing the faucet to the sink. These nuts are usually located on the threaded tailpieces of the faucet.
- Use an adjustable wrench to tighten the nuts. Turn them clockwise to secure the faucet against the sink’s surface.
- Make sure not to overtighten, as this could damage the faucet or the sink. Stop when you feel resistance.
For a Loose Handle:
- If the issue is with the handle, locate the screw or Allen screw at the base of the handle. This is usually covered by a small cap that can be removed using a flat-head screwdriver or your fingers.
- Use the appropriate tool (screwdriver or Allen wrench) to tighten the screw or Allen screw. Turn it clockwise until snug.
- Replace the cap once the handle is secure.
Step 4: Reassemble and Test
After tightening the base or handle, carefully reassemble any components you removed, such as caps or decorative covers.
Step 5: Turn On the Water Supply
With the faucet secured, you can now turn the water supply back on. Slowly open the shut-off valves under the sink and check for any leaks around the areas you’ve tightened. If you notice any leaks, tighten the connections a bit more until the leaks stop.
Step 6: Apply Plumber’s Tape (Optional)
To prevent future leaks and ensure a watertight seal, you can wrap plumber’s tape (Teflon tape) around the threaded connections before reattaching any supply lines. This tape helps create a secure seal and reduces the risk of leaks.
Step 7: Maintenance Tips
To maintain your tightened faucet’s stability and prevent future loosening:
- Periodically check for any signs of loosening and tighten as needed.
- Avoid using excessive force when operating the handle or the faucet itself.
- If you experience persistent leaks or notice further issues, consider seeking professional assistance.
Tightening a loose kitchen faucet is a practical DIY task that can save you from the frustration of a wobbly fixture and potential water leaks. By following this step-by-step guide, you can confidently address the issue and restore the stability of your kitchen faucet. Remember to prioritize safety, take your time, and follow the instructions carefully to ensure a successful and effective outcome. With your kitchen faucet securely tightened, you’ll enjoy hassle-free use and peace of mind in your kitchen.


