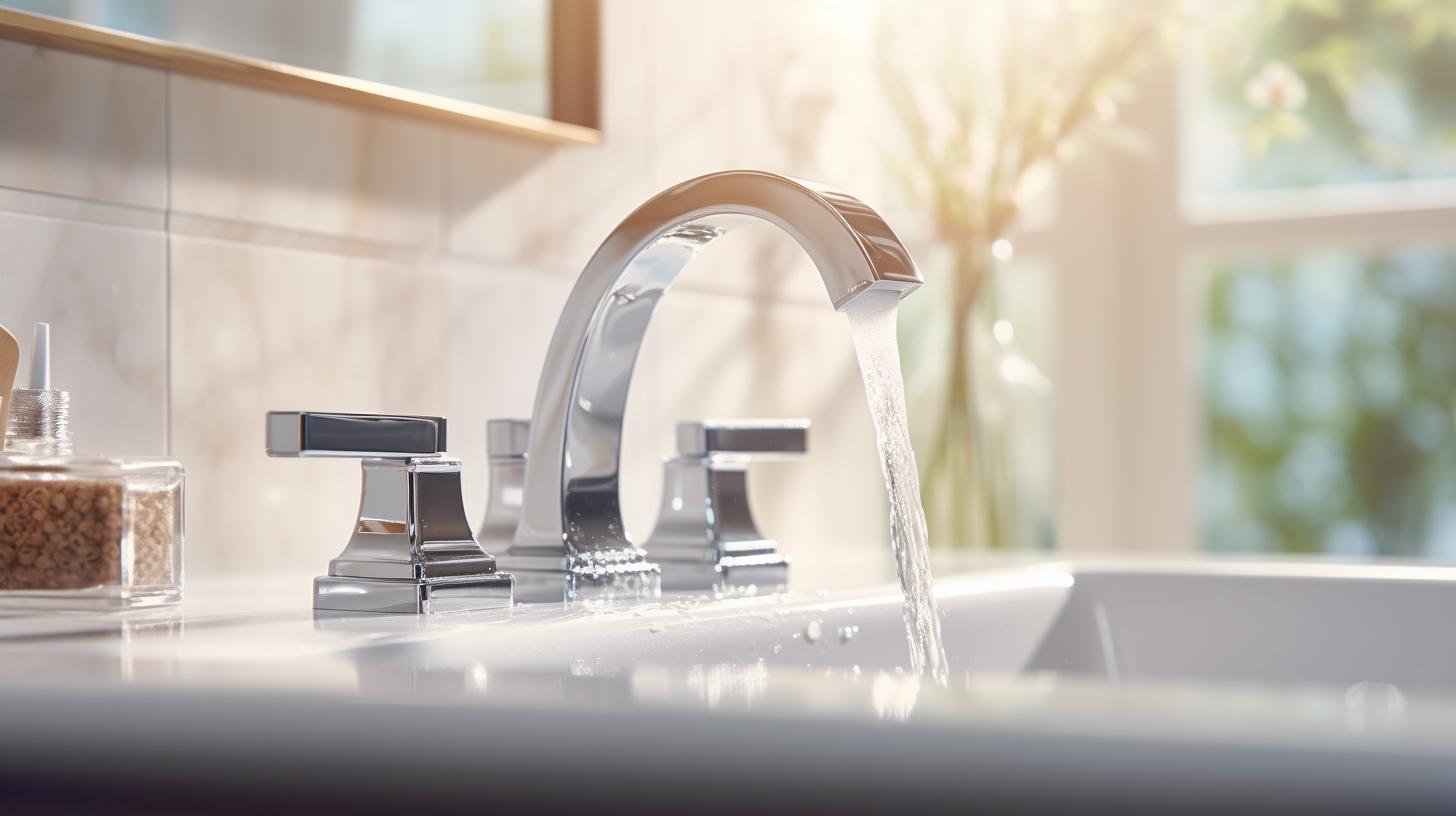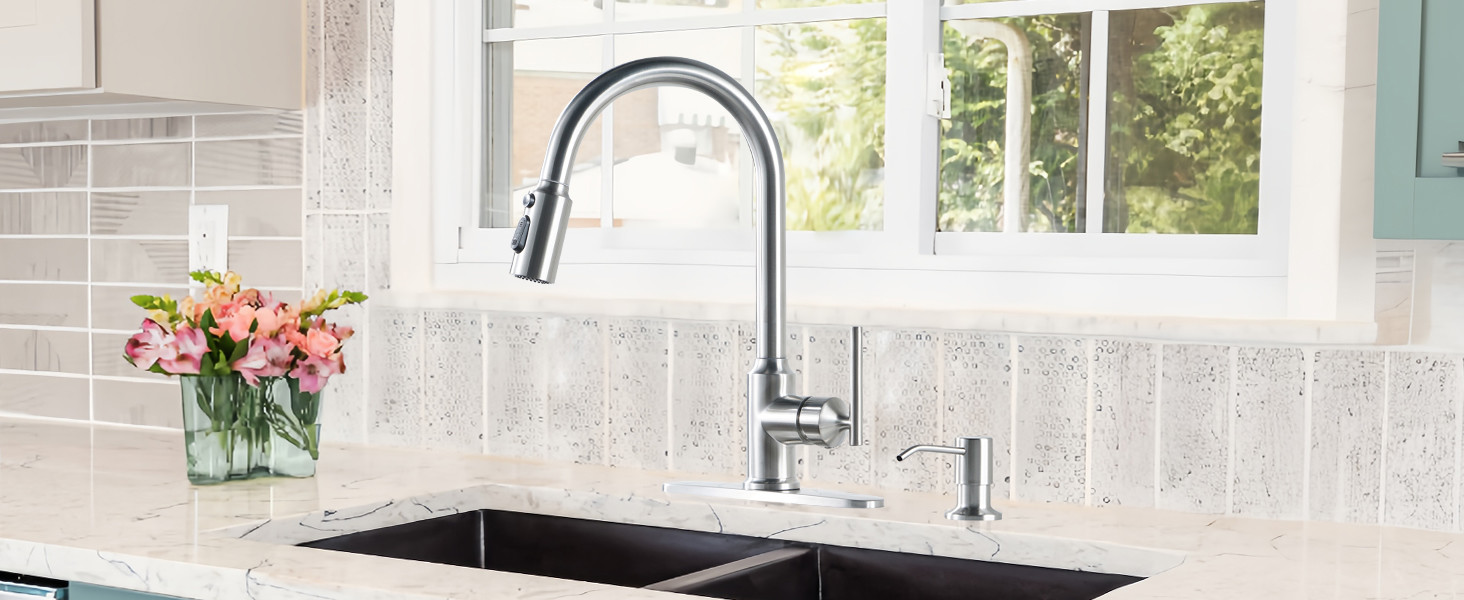
Wall-mounted faucets offer a sleek and modern look while freeing up counter space. However, installing one can be a bit more challenging than a standard deck-mounted faucet since it involves working with plumbing inside the wall. If you’re planning to upgrade your bathroom or kitchen with a wall-mounted faucet, follow this step-by-step guide to make the installation as smooth and hassle-free as possible.
Tools and Materials You’ll Need
Before starting, gather the necessary tools and materials to ensure a seamless installation:
- Wall-mounted faucet set
- Adjustable wrench
- Pipe wrench
- Plumber’s tape (Teflon tape)
- Level
- Measuring tape
- Drill and drill bits
- Pipe cutter or hacksaw
- Copper pipes (or PEX tubing, depending on your plumbing)
- Pipe fittings and adapters
- Plumber’s putty or silicone sealant
- Screwdriver
- Bucket and towels (to catch any water leaks)
Step 1: Turn Off the Water Supply
Before you begin, shut off the water supply to the sink. Locate the shut-off valves under the sink or turn off the main water supply to the house. Open the existing faucet to drain any remaining water and place a bucket under the pipes to catch drips.
Step 2: Determine the Mounting Height and Location
Wall-mounted faucets are typically positioned 3 to 6 inches above the sink. However, check the manufacturer’s recommendations and your sink depth to ensure proper clearance. Use a level and measuring tape to mark the precise mounting location on the wall.
Step 3: Open the Wall and Prepare the Plumbing
Since wall-mounted faucets require plumbing inside the wall, you may need to remove a section of drywall or tiles:
- Use a stud finder to locate studs and avoid cutting into them.
- Mark the area where you need to access the pipes.
- Carefully cut into the drywall using a drywall saw or utility knife.
- If working with tiles, use a drill with a tile bit to prevent cracking.
Once the wall is open, assess the existing plumbing. If you need to run new pipes, this is the time to do so.
Step 4: Install the Water Supply Lines
Wall-mounted faucets typically connect to two water supply lines behind the wall. If you’re replacing an old faucet, you may need to adjust the pipe length or install new pipes:
- Cut the pipes to the correct length using a pipe cutter.
- Use pipe fittings to secure the pipes in place.
- Apply plumber’s tape to the threads of any connections to prevent leaks.
- Solder copper pipes if necessary or use PEX tubing with compression fittings.
- Ensure the hot and cold water lines are positioned correctly according to the faucet’s inlets.
Step 5: Attach the Faucet Mounting Bracket
Most wall-mounted faucets require a mounting bracket to hold them securely in place:
- Align the bracket with the marks on the wall.
- Use a level to ensure it is straight.
- Secure the bracket using screws or anchors, depending on the wall material.
Step 6: Connect the Faucet to the Plumbing
Now that the plumbing is ready, attach the faucet:
- Align the faucet’s inlets with the water supply lines.
- Secure the connections with a wrench, ensuring a snug fit without over-tightening.
- Apply plumber’s tape to any threaded connections to prevent leaks.
Step 7: Test for Leaks
Before closing the wall, test for leaks:
- Turn the water supply back on.
- Slowly open the faucet and check all connections.
- If you notice any leaks, tighten the connections or add more plumber’s tape.
Step 8: Seal and Finish the Wall
Once you’re confident there are no leaks, close up the wall:
- If necessary, patch the drywall using a drywall repair kit.
- For tiled walls, replace or repair any tiles removed.
- Apply a bead of silicone sealant around the faucet base for a watertight seal.
Step 9: Install the Faucet Handles and Spout
Attach the faucet handles and spout according to the manufacturer’s instructions. Ensure all components are level and securely tightened.
Step 10: Final Testing and Clean-Up
- Turn the water supply back on and check the faucet’s operation.
- Run both hot and cold water to ensure proper flow.
- Wipe down the faucet and surrounding area to remove any debris or fingerprints.
Common Installation Mistakes to Avoid
- Incorrect Measurements: Double-check your faucet height and alignment before drilling or cutting.
- Skipping Leak Tests: Always test connections before sealing the wall to avoid costly repairs.
- Over-Tightening Connections: Excessive force can damage fittings and cause leaks.
- Using the Wrong Pipe Material: Match your new plumbing with your home’s existing pipes for compatibility.
Conclusion
Installing a wall-mounted faucet can seem daunting, but with the right tools and careful planning, you can complete the project without hassle. By following these steps, you’ll achieve a sleek and functional upgrade to your kitchen or bathroom. If you run into plumbing complications, don’t hesitate to consult a professional plumber to ensure a leak-free installation. Happy DIY-ing!


