Master the DIY Approach: How to Install a Wall Mount Bathroom Sink Faucet
Introducing a simple addition that can create a spa-like ambience in your home – a Wall Mount Bathroom Sink Faucet. This luxury feature instantly elevates your bathroom, making it more elegant, sophisticated, and relaxing. This guide will walk you through every step of installing your own Wall Mount Bathroom Sink Faucet, ensuring you can enjoy this stunning feature without needing to hire a professional.

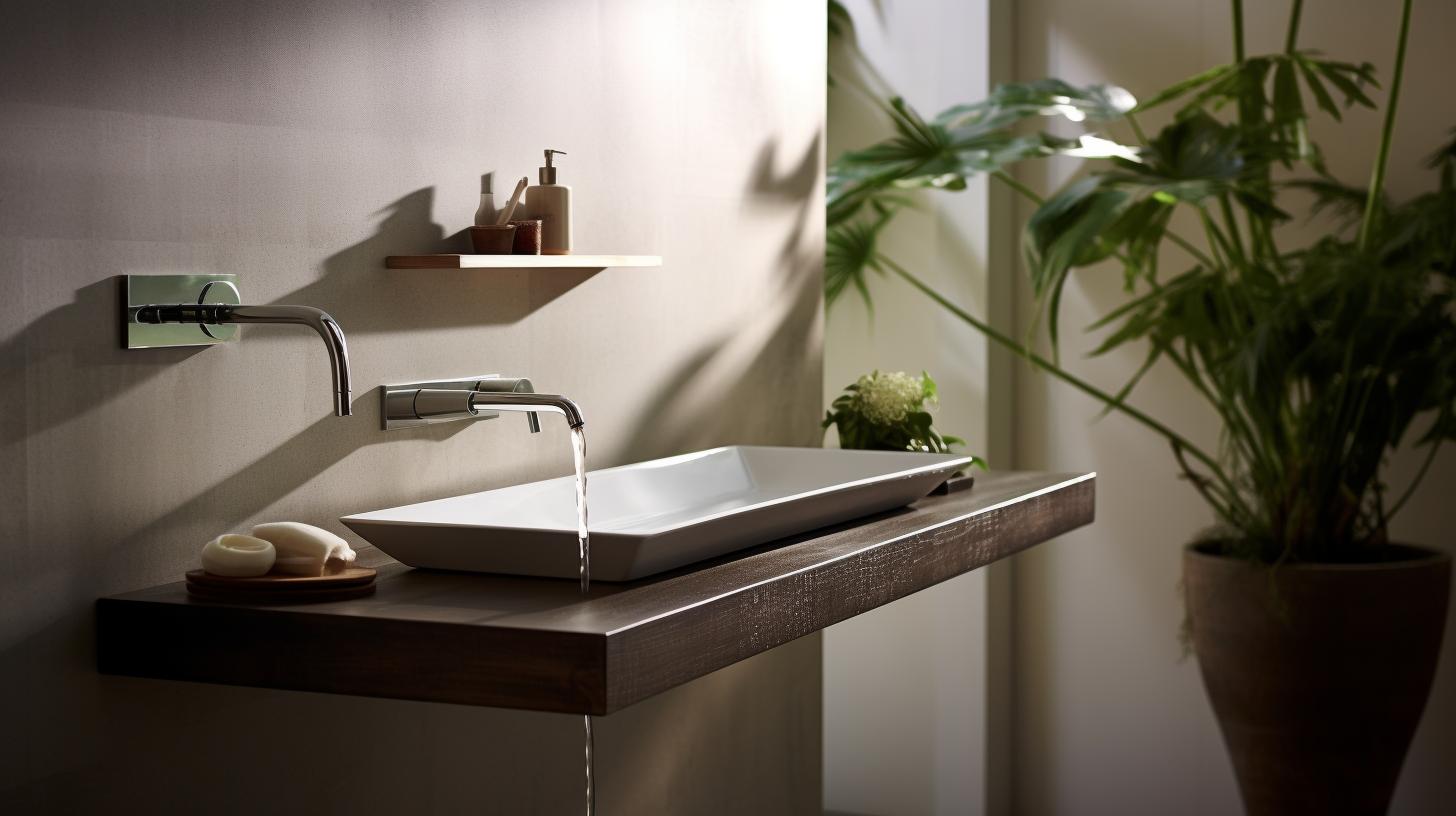
First, let’s explore the allure of a Wall Mount Bathroom Sink Faucet. Wall Mount Bathroom Sink Faucets are known for their sleek design and modern appeal. They offer extra counter space, making your bathroom appear larger and more organized. Not only do they make a significant aesthetic difference, but they also provide practical benefits. Before we dive into the detailed procedure, here’s a bit of pre-installation homework for you. Ensuring that you have the right tools at hand for the task is half the battle won. Gather up your essentials, such as a screwdriver, adjustable wrench, plumber’s tape, and of course, your brand-new Wall Mount Bathroom Sink Faucet.With an off-the-counter faucet, cleaning your sink and vanity becomes a breeze.
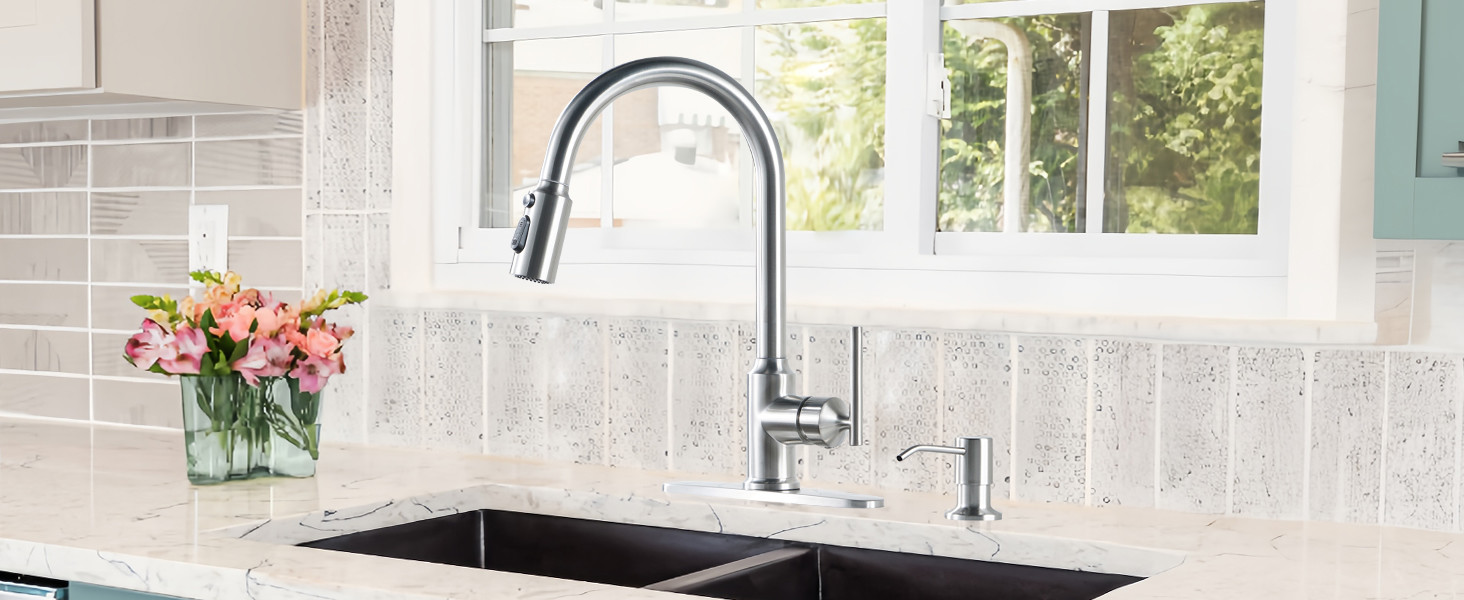
Next, let’s delve into the world of Wall Mount Bathroom Sink Faucet options. Whether you’re after a chic, minimalist design or a bold, statement piece, there’s a Wall Mount Bathroom Sink Faucet that’s perfect for you. Take a look at the numerous options available on Amazon and you’re sure to find one that suits your style and budget. One of our personal favorites is this modern and sleek faucet.
Now that you’ve selected your Wall Mount Bathroom Sink Faucet, let’s dive into the installation process. Here’s what you’ll need:
- Your Wall Mount Bathroom Sink Faucet
- Plumbing tape
- An adjustable wrench
- Screwdriver
- Drill
- Spirit level
- Plumber’s putty
The process of installing your Wall Mount Bathroom Sink Faucet might be intricate, but with patience and careful following of instructions, you can achieve the stunning results you desire. Here are the steps:
Prepare your area:
Ensure your bathroom sink area is clean and free of any debris. If you’re replacing an existing faucet, make sure to remove it completely and clean the area thoroughly.
Mark the faucet position:
After deciding where you’d like your new Wall Mount Bathroom Sink Faucet to sit, use your spirit level and pencil to mark the position. This will ensure your faucet is installed perfectly straight.
Drill your holes:
Carefully drill the holes for your faucet, making sure to follow the manufacturer’s instructions regarding the correct diameter and depth.
Secure the faucet:
Using your screwdriver, secure the faucet to the wall, ensuring it is firmly in place and not wobbling.
Connect the water supply:
With your wrench, connect the water supply to your faucet.

Test your faucet:
Finally, turn on the water and check for any leaks. If there are any, turn off the water supply and use plumbing tape or plumber’s putty to secure the connections.
And there you have it – your very own, professionally installed Wall Mount Bathroom Sink Faucet. Not only have you added a touch of luxury to your bathroom, but you’ve also gained a sense of accomplishment by doing it yourself.
By following these steps, you’ve successfully transformed your bathroom into your very own personal oasis. With the right blend of patience, enthusiasm, and this handy guide, you’ve transformed your bathroom and enriched your DIY skills. Wall Mount Bathroom Sink Faucets may seem like a minor change, but their impact on your daily routine is significantly positive.
As always, if you encounter any hiccups along the way, remember there are professionals available to help. However, we’re confident you have the skills and determination to install your Wall Mount Bathroom Sink Faucet. Congratulations on your new bathroom transformation and enjoy your personal spa-like retreat.


