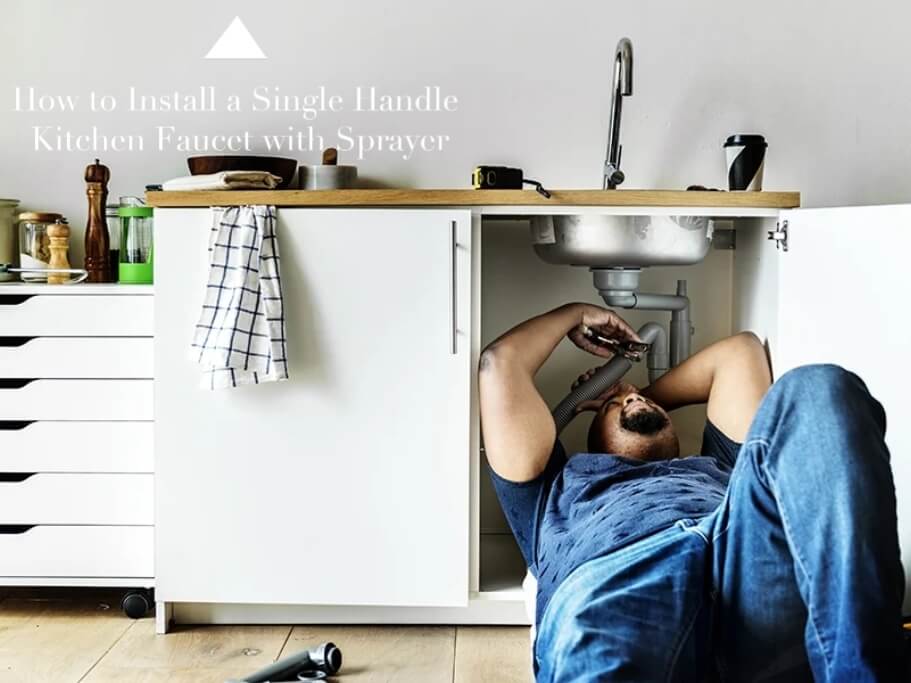
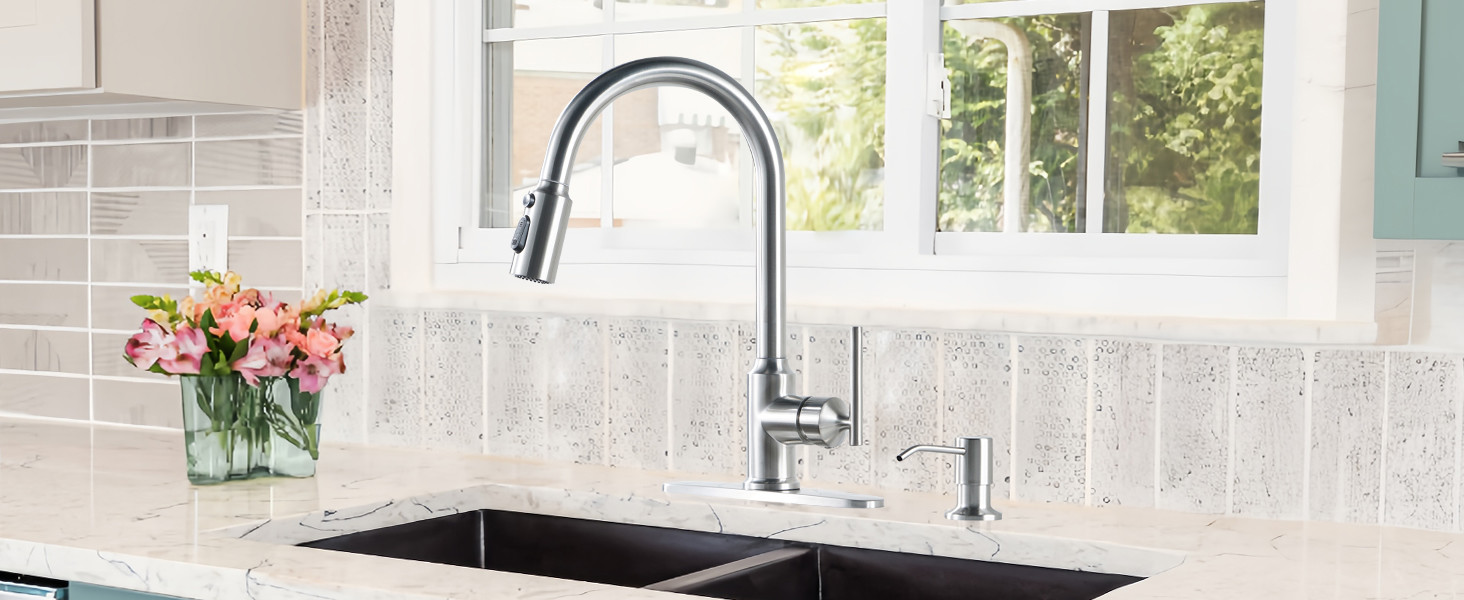
Many people are confused about how to install a single handle kitchen faucet with sprayer. Upgrading the fixtures in your kitchen faucet with sprayer can significantly transform its overall look and functionality. A popular choice among homeowners is the installation of a single handle kitchen faucet with a sprayer. This modern and convenient addition can elevate the efficiency of your daily kitchen tasks while adding a touch of elegance to the space. If you’re ready to take on a DIY project that will enhance both the aesthetics and functionality of your kitchen, follow this comprehensive step-by-step guide to successfully install a single handle kitchen faucet with a sprayer.
Gather Your Tools and Materials
As with any DIY project, preparation is key. Before you begin, ensure you have all the necessary tools and materials readily available. Here’s a detailed list of what you’ll need:
-
New Single Handle Kitchen Faucet with Sprayer: Choose a faucet that suits your style and complements your kitchen’s design.
-
Adjustable Wrench: This versatile tool will come in handy for various stages of the installation process.
-
Pipe Wrench: Essential for securely attaching and detaching plumbing components.
-
Plumber’s Tape (Teflon Tape): A necessary item for creating a tight and leak-free seal.
-
Bucket or Towels: Use these to catch any water or drips that may occur during the installation.
-
Silicone Sealant: This will help prevent water from seeping under the faucet and causing damage.
-
Screwdriver: You may need this for specific faucet models that require screws for mounting.
-
Safety Goggles: Protect your eyes from any debris or water splashes.
-
Flashlight: Improve visibility in hard-to-reach areas.

Step 1: Turn Off the Water Supply
Your safety is paramount, so before you commence any work, ensure the water supply to your kitchen is turned off. Locate the shut-off valves beneath the sink and rotate them clockwise until they’re fully closed. To eliminate any remaining water from the pipes, turn on the faucet.
Step 2: Disconnect the Old Faucet
Detach the supply lines and remove the old faucet using an adjustable wrench and a pipe wrench. Place a bucket or towels beneath the work area to collect any water that may drip during this process. If your previous faucet had a sprayer hose, remember to disconnect that as well.
Step 3: Clean the Sink Area
With the old faucet removed, take the opportunity to thoroughly clean the sink area. Removing any accumulated debris, old sealant, and residue will ensure a clean and stable surface for the new faucet.
Step 4: Apply Plumber’s Tape
Before installing the new faucet, wrap a few layers of plumber’s tape (Teflon tape) around the threads of the water supply connectors. This tape will help create a secure and leak-free seal when you attach the supply lines.
Step 5: Install the New Faucet
Insert the new faucet’s supply lines through the mounting hole in the sink. From beneath the sink, align the faucet with the mounting hole and secure it in place using the provided mounting nuts. Utilize an adjustable wrench to tighten the nuts, but avoid over-tightening, as it could cause damage.
Step 6: Attach the Sprayer Hose
If your new single handle kitchen faucet comes with a sprayer, attach the sprayer hose to the designated outlet on the faucet. Use an adjustable wrench to ensure a firm and leak-free connection.
Step 7: Connect the Supply Lines
Connect the hot and cold water supply lines to their respective connectors on the faucet. Again, use an adjustable wrench to tighten the connections, exercising caution not to over-tighten.
Step 8: Check for Leaks
Before proceeding further, perform a leak check. Gradually turn on the water supply valves beneath the sink and meticulously inspect all connections for any signs of leakage. Should you detect any leaks, promptly tighten the connections as necessary.
Step 9: Seal the Base
To prevent water from seeping underneath the faucet, apply a thin, uniform bead of silicone sealant around the base where it meets the sink. This sealant will serve as a protective barrier and maintain the integrity of the installation.
Step 10: Test the Faucet and Sprayer
With iinstalling kitchen faucet almost complete, turn on the faucet and the sprayer to verify the water flow and functionality. Test both hot and cold water settings to ensure they work smoothly without any leaks or issues.
Conclusion
Embarking on the installation of a single handle kitchen faucet with a sprayer is a rewarding DIY endeavor that can enhance both the aesthetic appeal and practicality of your kitchen space. By following this comprehensive guide, you can confidently navigate each step of the installation process. Remember that safety is paramount, take your time to ensure precision, and don’t hesitate to seek assistance or advice if needed. As you successfully complete this project, you’ll not only enjoy the satisfaction of a job well done but also the increased functionality and visual appeal that your new faucet brings to your kitchen.


