Updating your kitchen or bathroom sink can dramatically enhance the look and functionality of the space. If you’ve replaced a faucet or are looking to streamline your sink’s appearance, dealing with unused faucet holes can be a straightforward yet essential part of the renovation process. Sink hole covers offer a practical solution, allowing you to seamlessly fill these openings and achieve a polished, uniform look. In this guide, we’ll explore the steps involved in filling unused faucet holes with sink hole covers, ensuring a professional finish for your sink area.
Understanding Sink Hole Covers
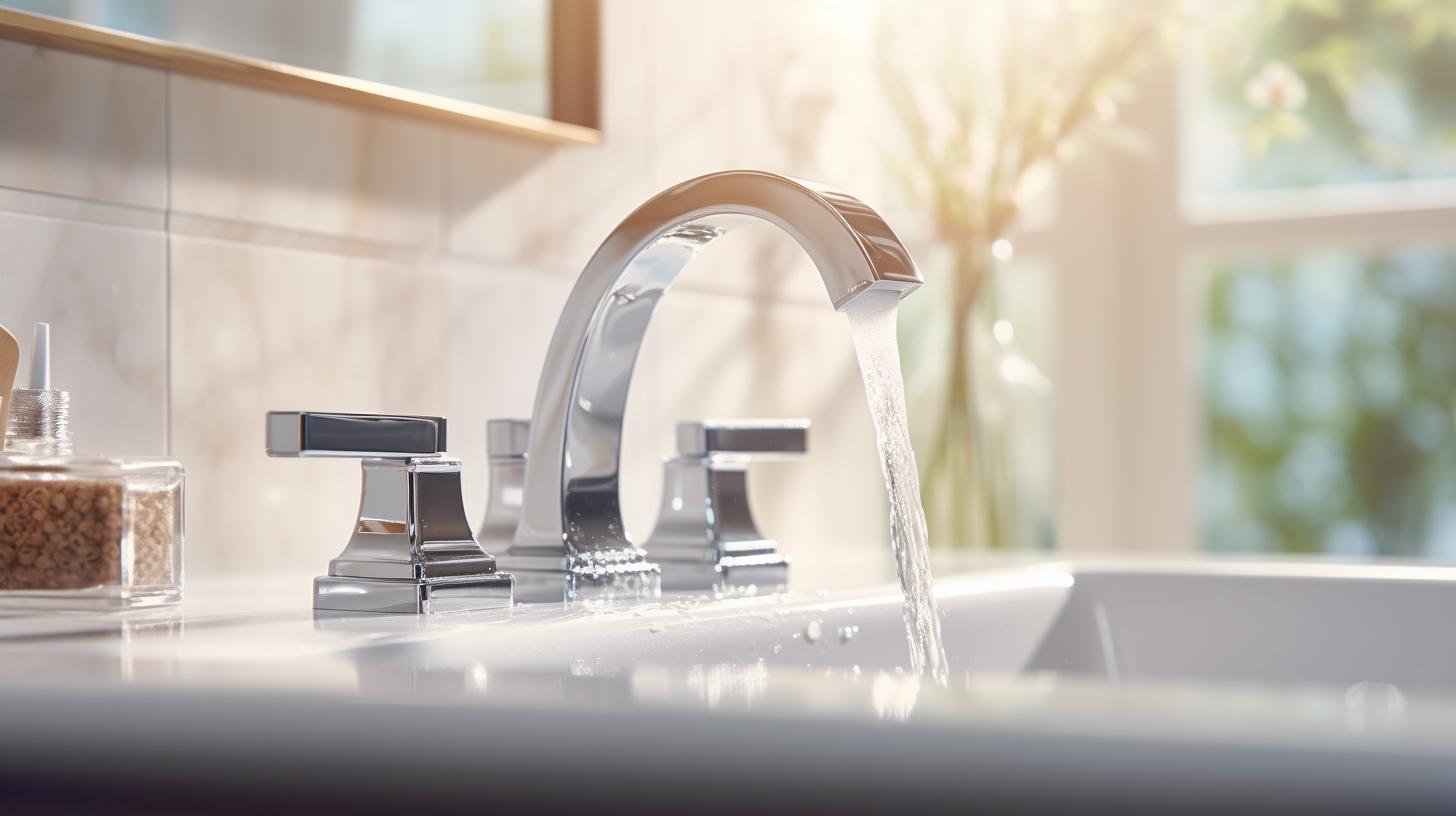
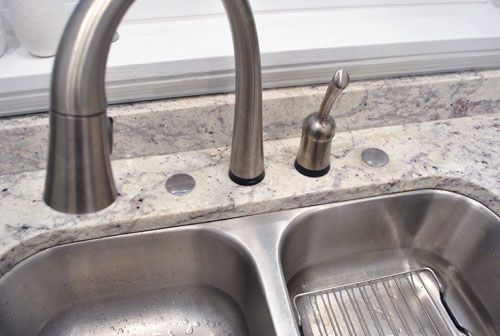
Sink hole covers are small, typically circular discs designed to fit snugly into standard faucet holes on sinks. They come in various materials such as stainless steel, chrome, brushed nickel, or even composite materials to match different sink finishes and styles. These covers serve both aesthetic and functional purposes, preventing water from leaking through unused holes while providing a smooth, finished appearance to your sink surface.
Choosing the Right Sink Hole Cover
Before beginning the installation process, it’s essential to select sink hole covers that match the size and finish of your sink and existing hardware. Most covers are available in standard sizes like 1 inch, 1.5 inches, or 2 inches in diameter to accommodate different faucet hole dimensions. Pay attention to the material and finish to ensure consistency with your sink’s aesthetic.
Tools and Materials You’ll Need
Gathering the necessary tools and materials beforehand will streamline the installation process:
- Sink Hole Covers: Ensure you have enough covers to fill all unused faucet holes.
- Silicone Caulk: To create a waterproof seal around the covers.
- Utility Knife: For trimming excess caulk and ensuring a neat finish.
- Rubbing Alcohol and Cloth: To clean the sink surface thoroughly before applying caulk.
- Caulking Gun: For applying silicone caulk precisely.
Step-by-Step Installation Guide
Step 1: Prepare the Sink Surface
Start by cleaning the area around the unused faucet holes with rubbing alcohol and a clean cloth. This removes any debris, soap residue, or grease that could interfere with the adhesion of the caulk and sink hole covers.
Step 2: Measure and Select Hole Covers
Measure the diameter of each unused faucet hole accurately. Choose sink hole covers that match these measurements to ensure a snug fit. It’s advisable to select covers slightly larger than the hole diameter for a secure placement.
Step 3: Apply Silicone Caulk
Load the caulking gun with silicone caulk and carefully apply a small bead around the edge of each faucet hole. Ensure the caulk bead is continuous and covers the entire circumference of the hole to create a watertight seal once the cover is installed.
Step 4: Install Sink Hole Covers
Place each sink hole cover into its respective faucet hole, pressing firmly to ensure it sits flush with the sink surface. The silicone caulk will help adhere the cover securely in place while creating a waterproof barrier around the edges.
Step 5: Clean Excess Caulk
Immediately after placing each sink hole cover, use a utility knife or a damp cloth to carefully remove any excess silicone caulk around the edges. This step ensures a clean, professional finish and prevents caulk from drying unevenly or leaving visible residue.
Step 6: Allow Caulk to Cure
Allow the silicone caulk to cure completely according to the manufacturer’s instructions. This typically involves letting it sit undisturbed for 24 hours to ensure it fully sets and provides a durable, waterproof seal around the sink hole covers.
Step 7: Final Inspection
Once the silicone caulk has cured, inspect the sink area to ensure all sink hole covers are securely in place and the caulk has dried evenly. Clean any remaining residue with a damp cloth if necessary, being careful not to disturb the caulk seal.
Benefits of Using Sink Hole Covers
- Enhanced Aesthetics: Filling unused faucet holes with sink hole covers creates a clean, streamlined look for your sink area, enhancing the overall aesthetic appeal of your kitchen or bathroom.
- Prevents Water Damage: By sealing unused faucet holes, sink hole covers prevent water from leaking into the cabinet below or accumulating in inaccessible areas of the sink, reducing the risk of water damage over time.
- Easy Maintenance: A smooth sink surface with no exposed faucet holes is easier to clean and maintain, making daily upkeep more convenient and efficient.
Conclusion
Filling unused faucet holes with sink hole covers is a simple yet effective way to improve the appearance and functionality of your sink area. By following these steps and choosing the right materials, you can achieve a professional finish that enhances your kitchen or bathroom’s overall design. Whether you’re renovating your home or simply updating your sink, sink hole covers offer a practical solution to create a polished, cohesive look that complements your style preferences and enhances the functionality of your sink space.